#20: I Have a Vestal Damper with a High Flue Tile, How Do I Plug the Chimney?
#20: I Have a Vestal Damper with a High Flue Tile, How Do I Plug the Chimney?
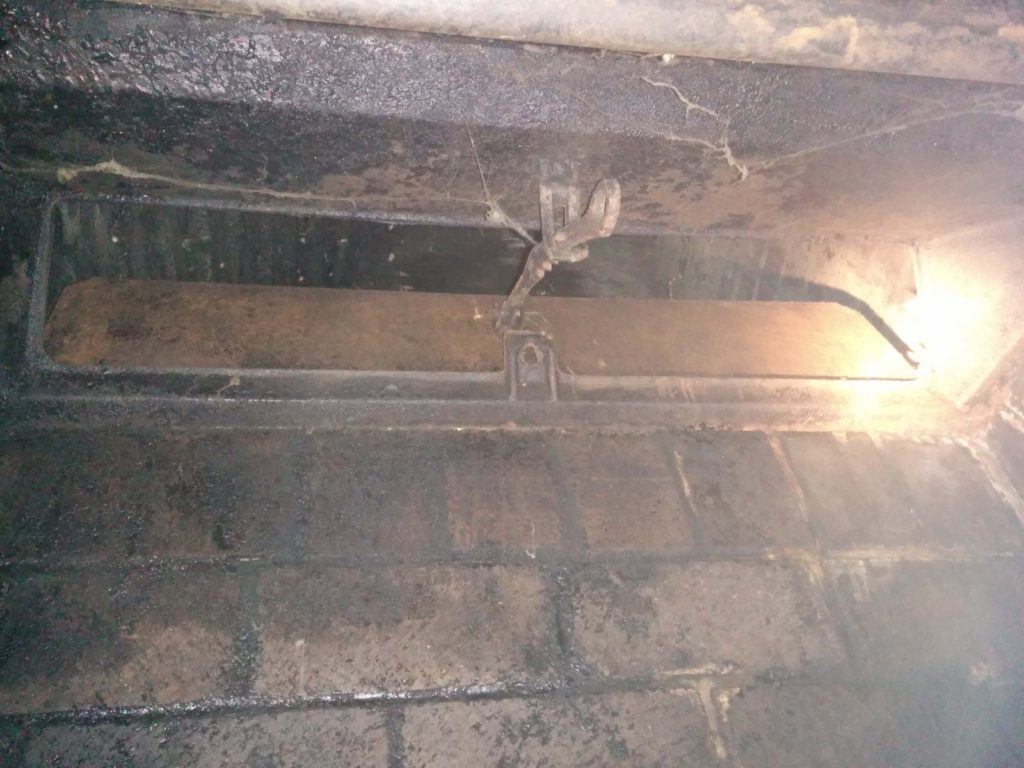
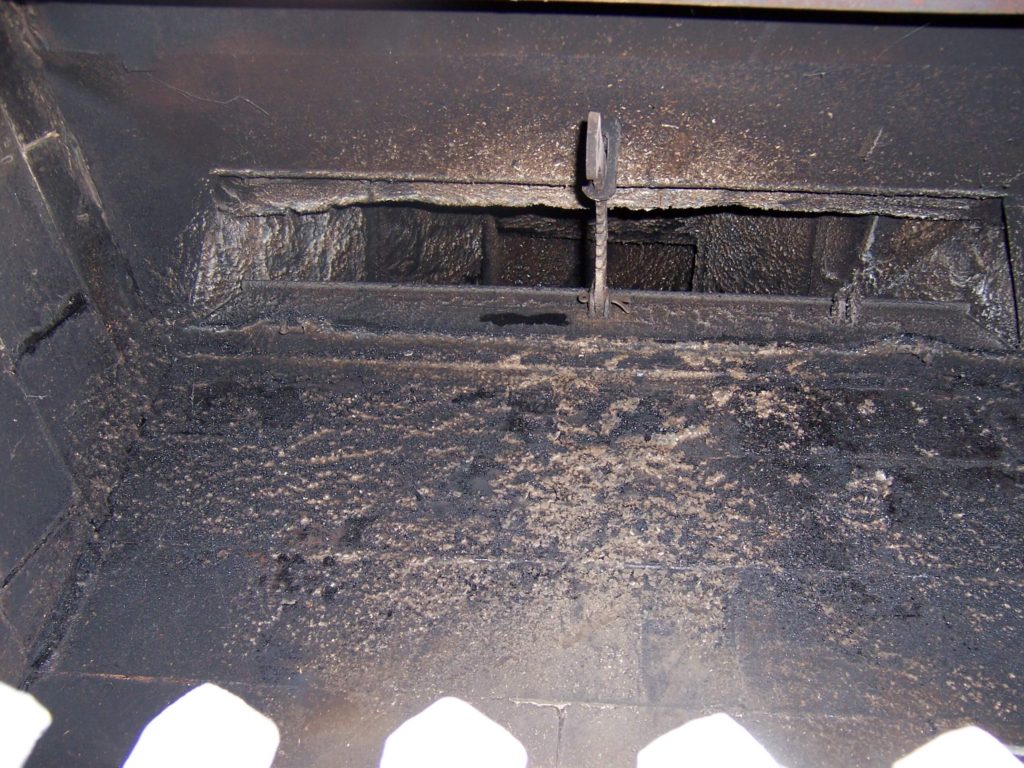
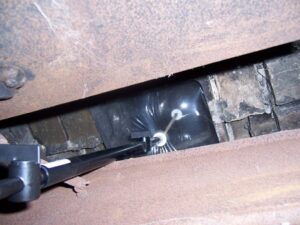
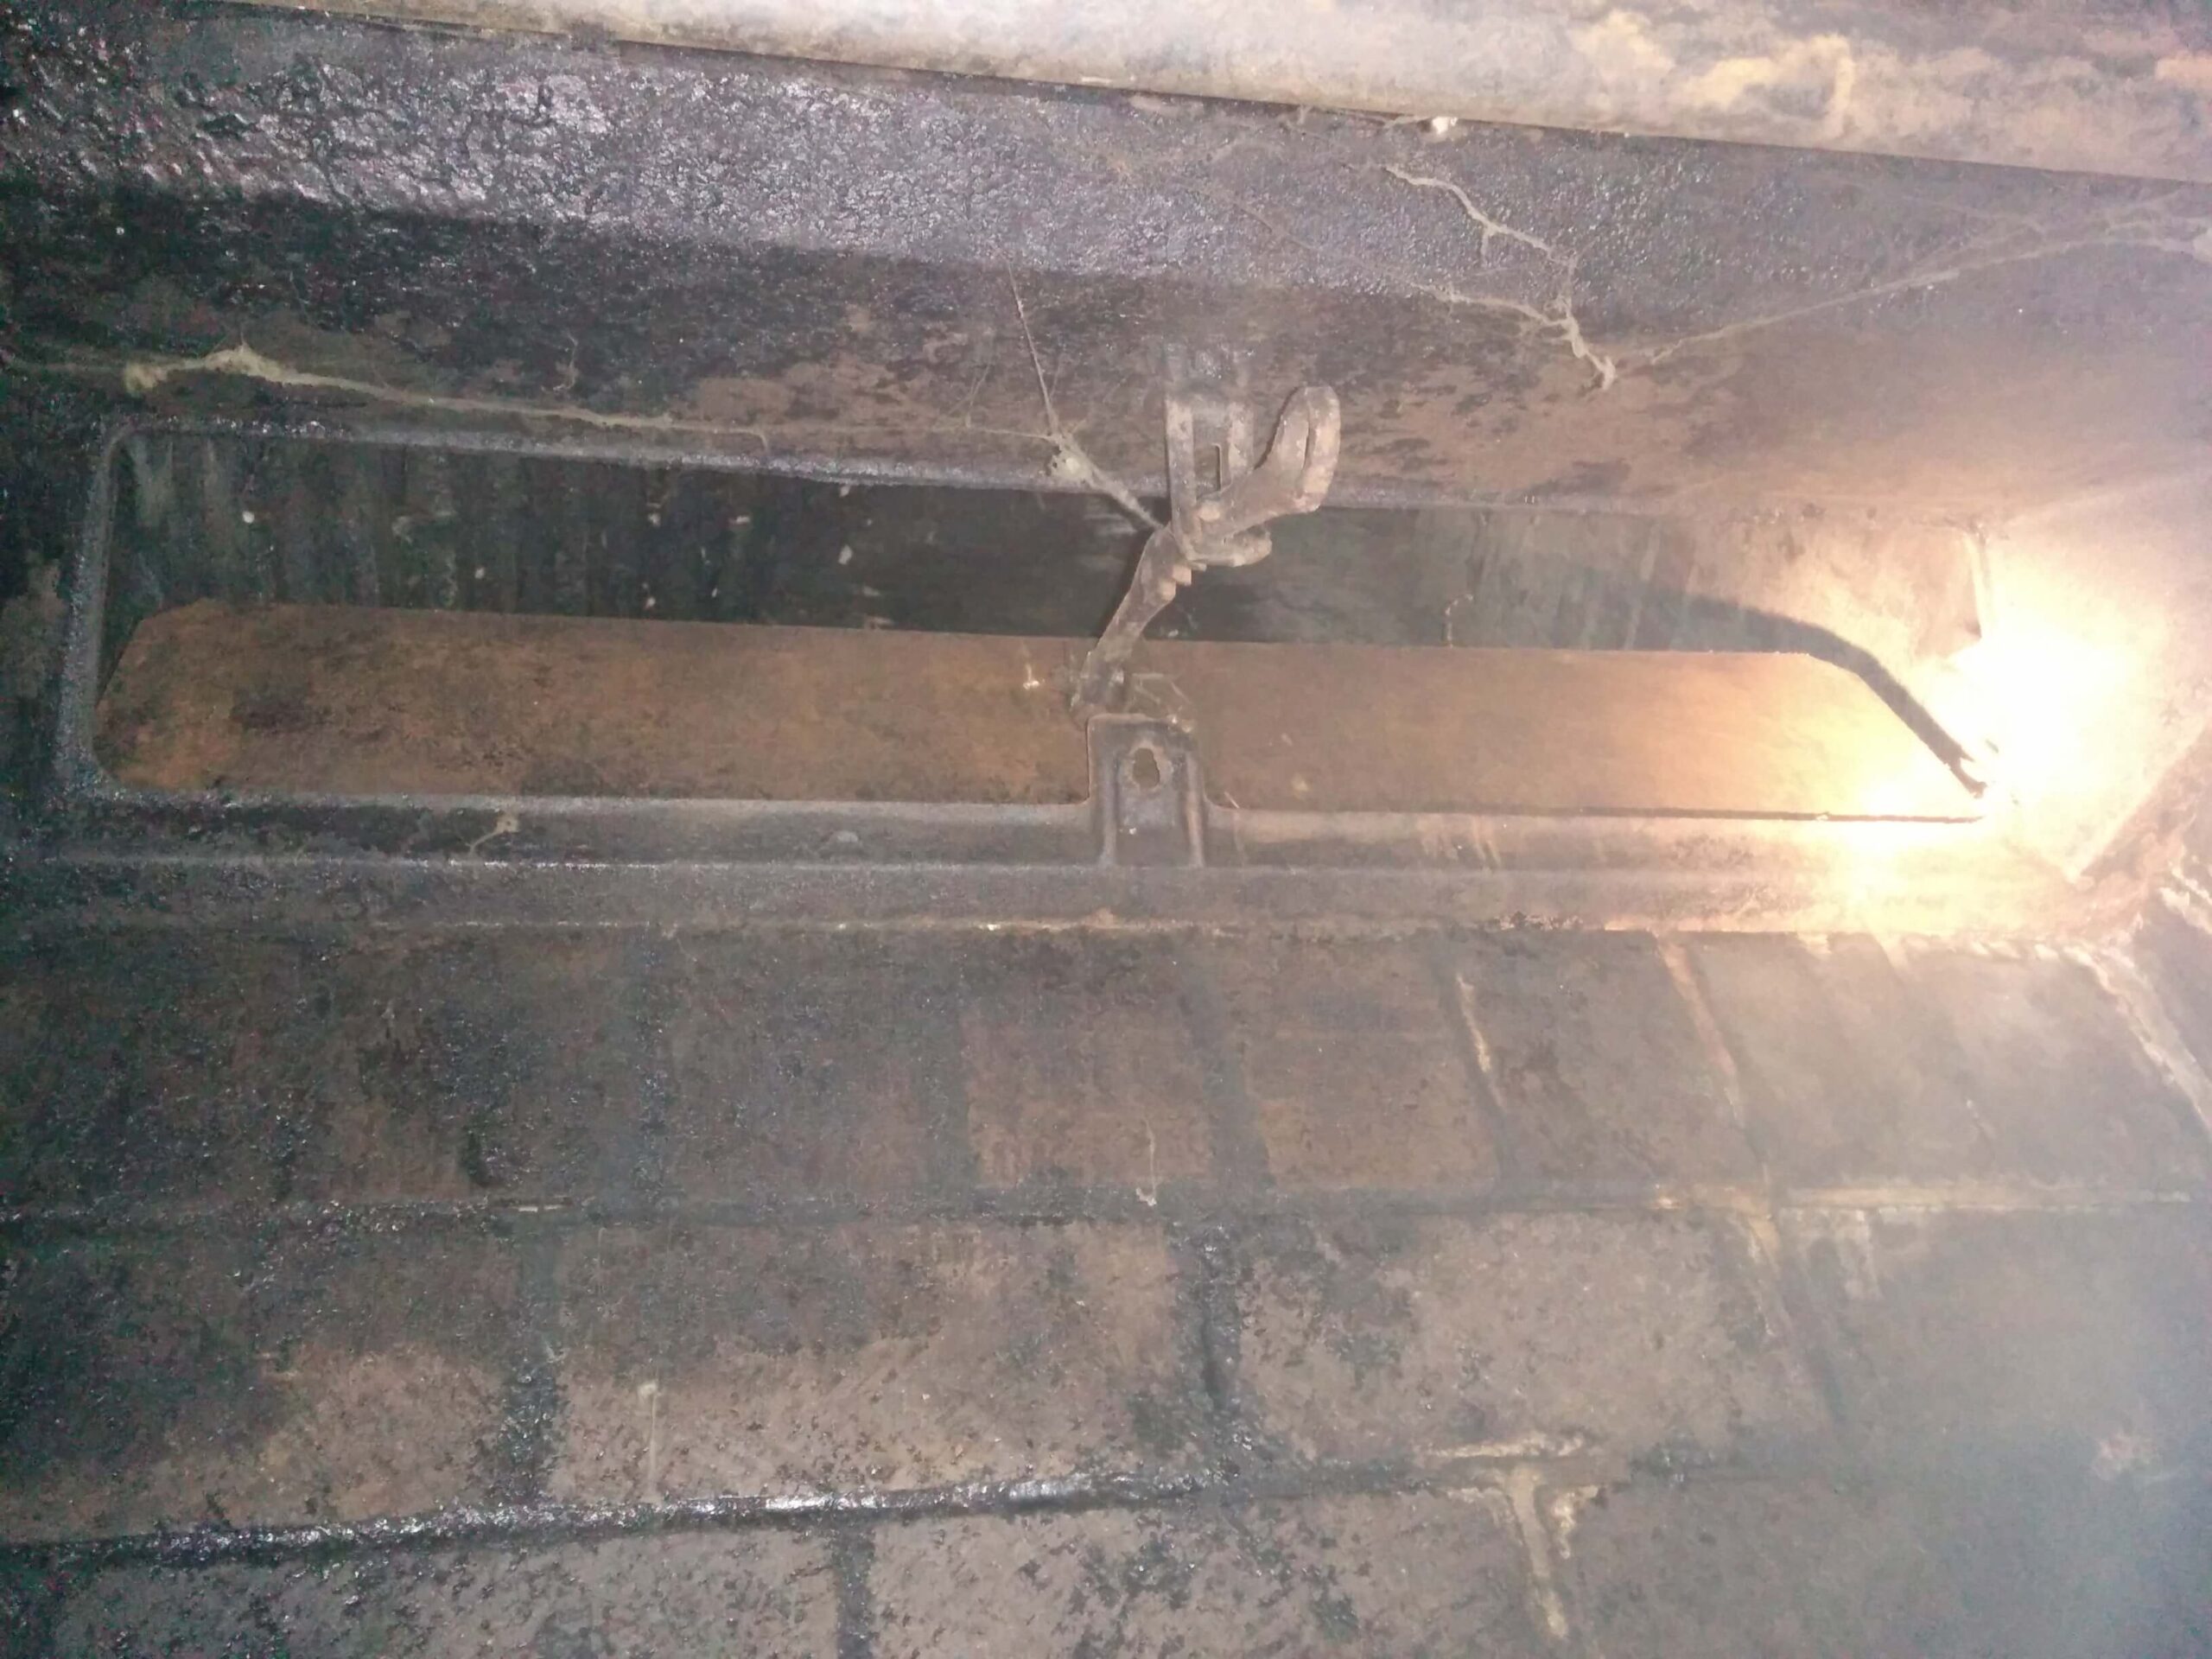
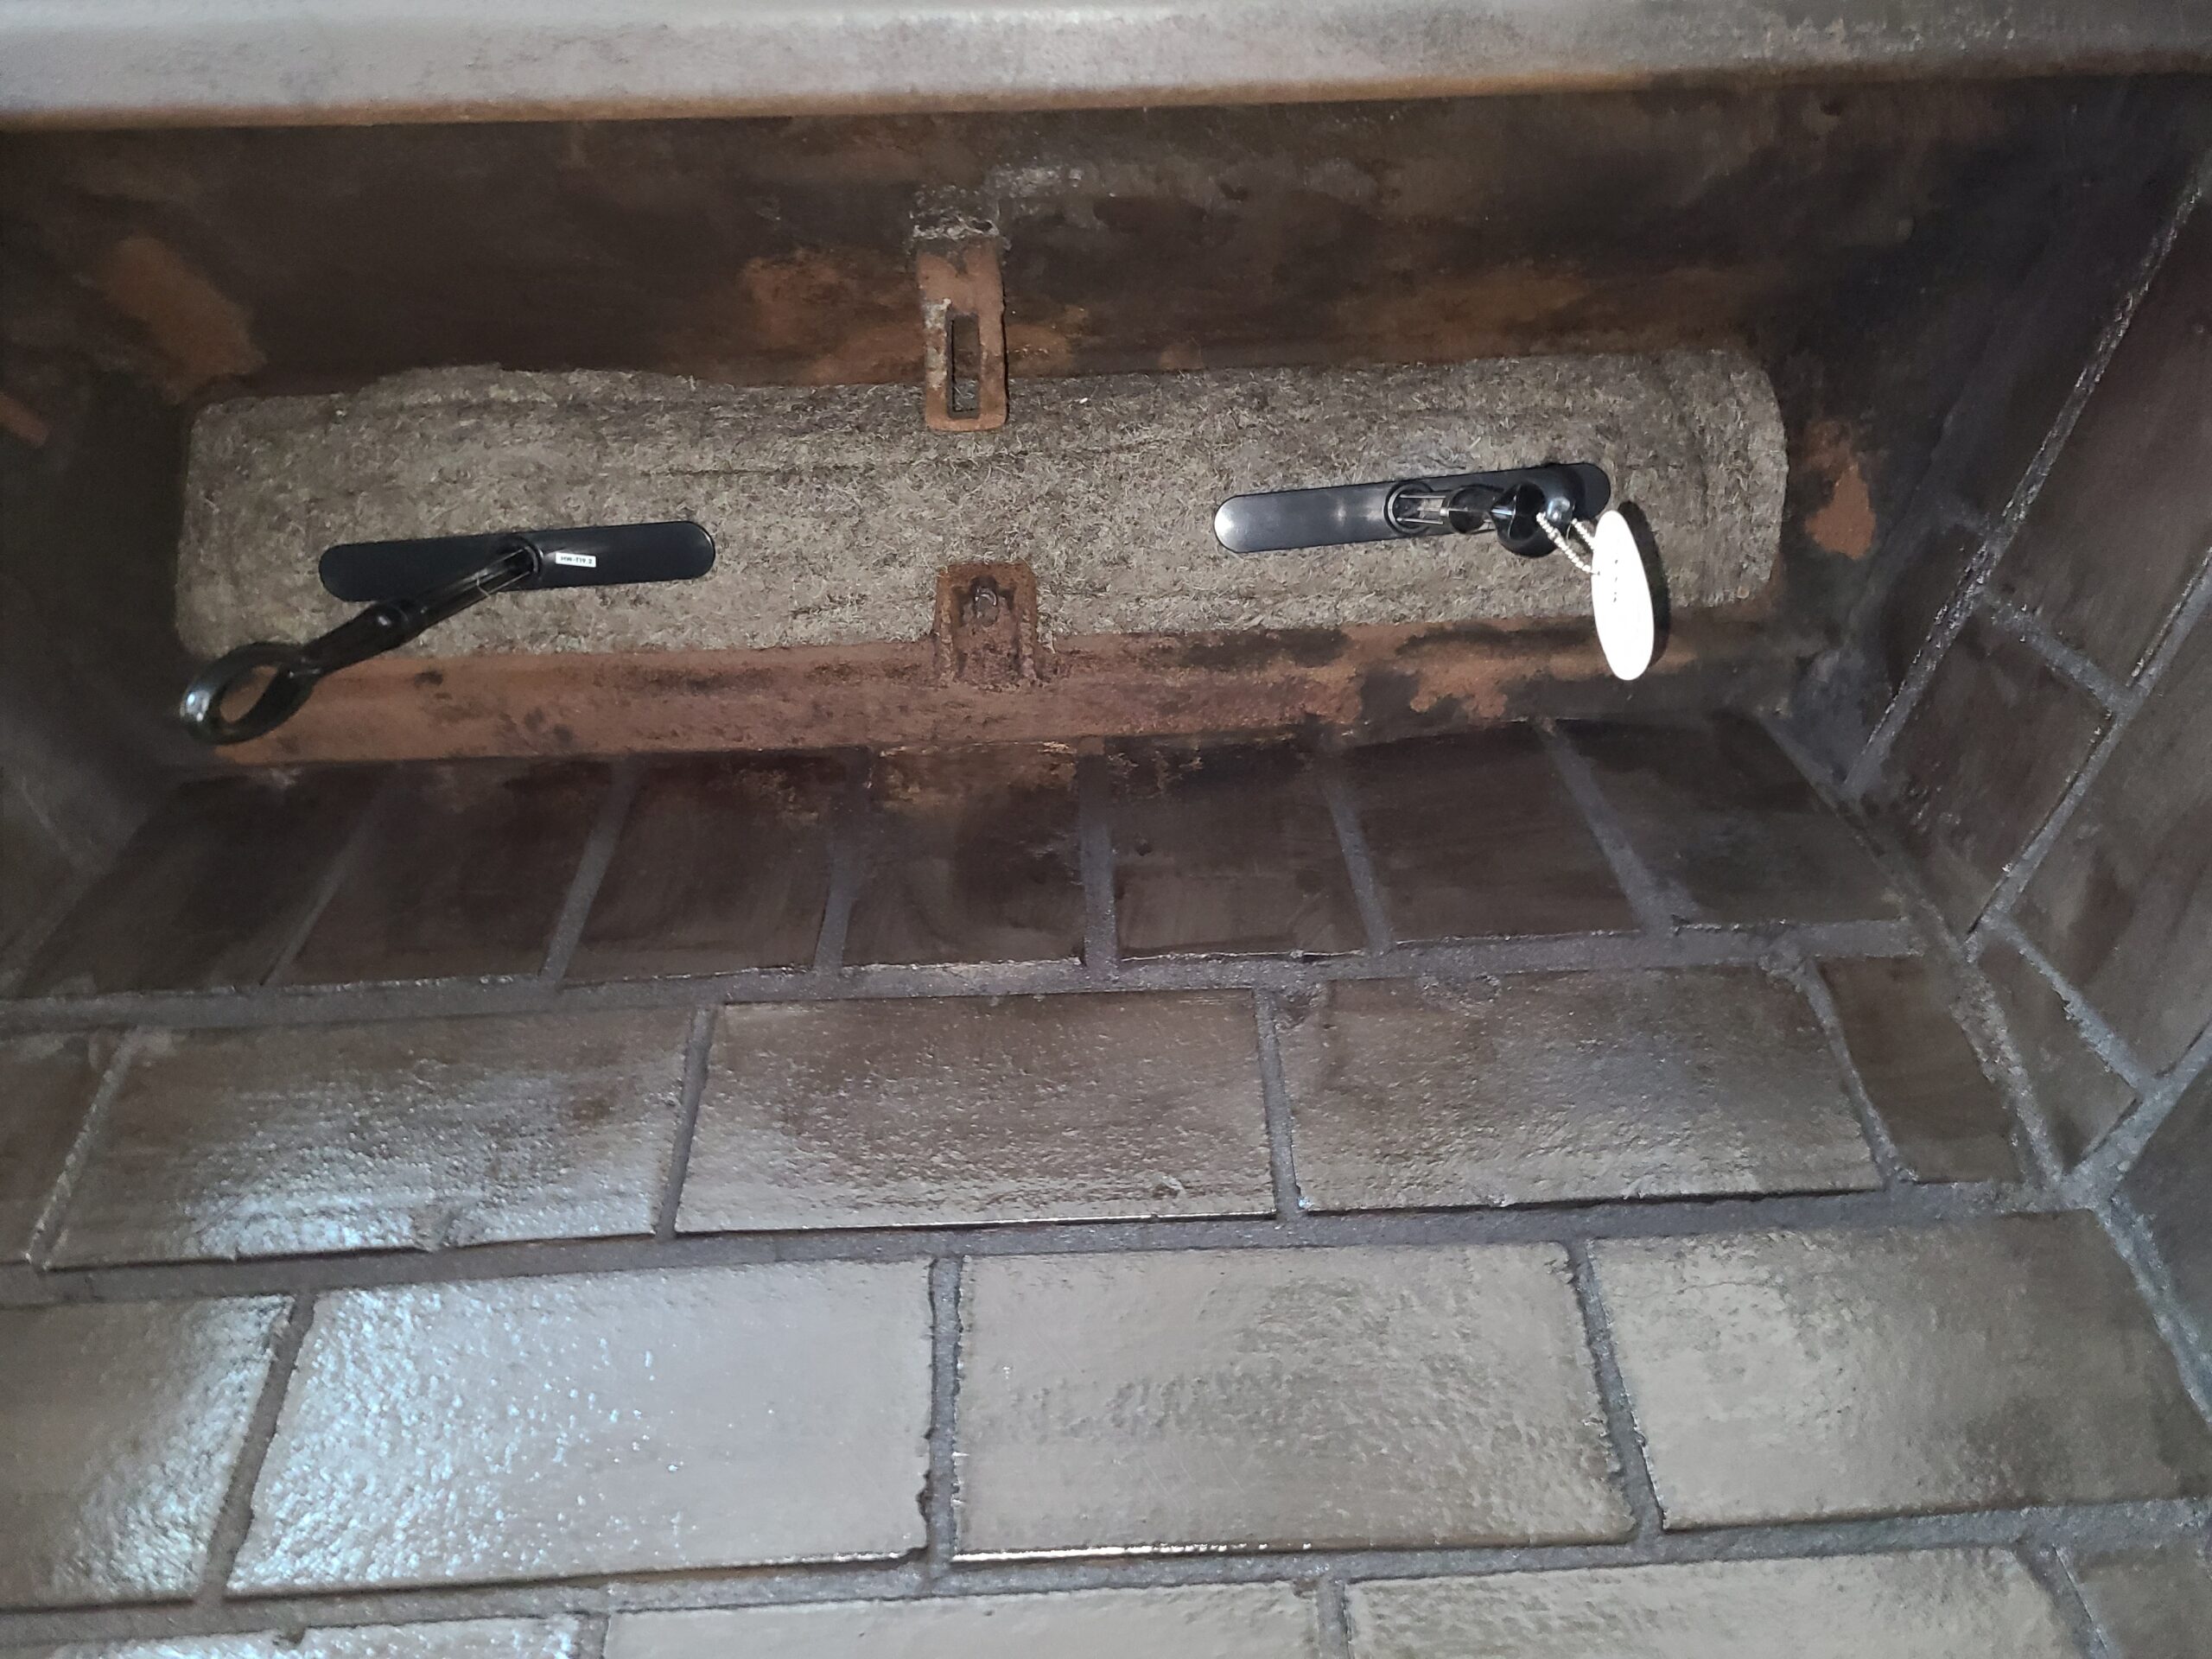
20-1 Open Vestal Damper with High Flue Tile
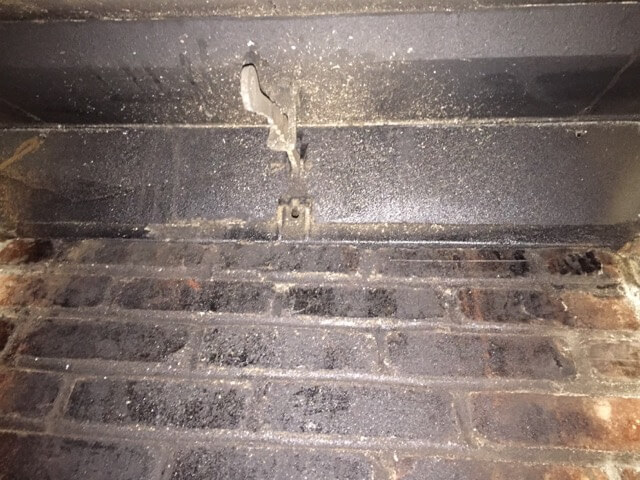
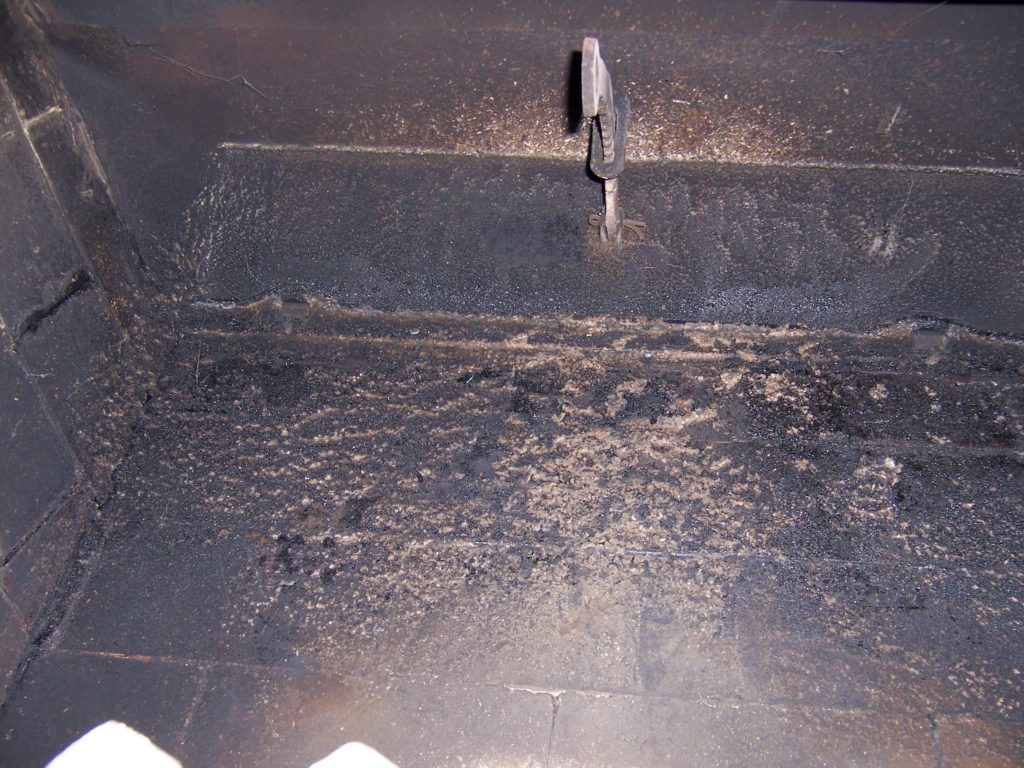
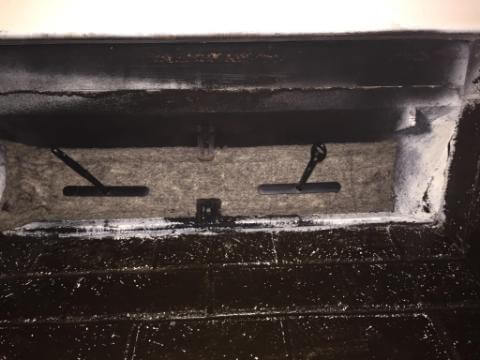
20-2 Closed Vestal Damper with Center Handle
20-3 Installed Above Vestal Damper Frame
20-4 Flueblocker Pressed in below Damper Frame Opening
If the Fireplace #20: Vestal Damper with Center Handle and High Flue Tile
Vestal Dampers are very common in masonry fireplaces of solid brick or stone. These are their characteristics:
- They have a long rectangular cast iron damper door.
- The door has a 16″ long curved cast iron handle sticking down from the center of the damper door.
- The handle has saw teeth on the back, and a loop on the end.
- The shaft of the handle sticks through a metal bracket that is attached to the damper frame.
The nice thing about Vestal dampers is they are very easy to disassemble. In this particular application you can see through the damper opening. The square flue tile starts 4 feet above the damper. This makes accessing the flue tile difficult, since it is out of hands reach. So lets look at ways to plug the fireplace down by the damper.
If you want a tight and durable plug, use the Flueblocker

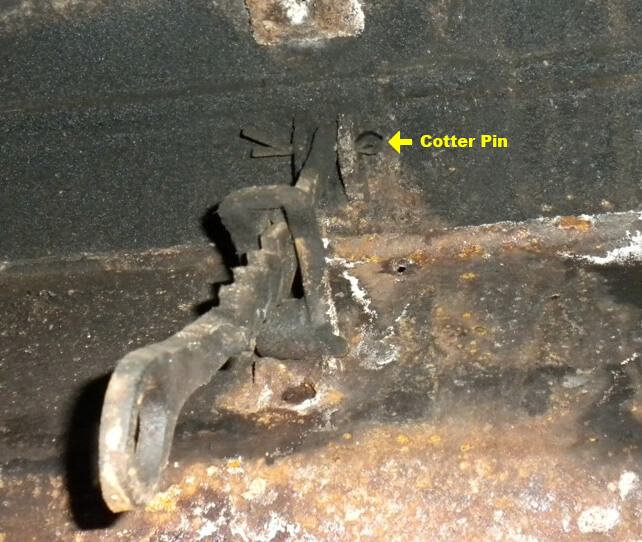
20-8 Cotter Pin on Handle
If you want to plug the flue tight, and for a long duration, then go with a Flueblocker. It seals and insulates very well. You can install it above (image 20-3), or below the damper frame (image 20-4).
Installing above the damper frame is the tightest fit:
- First, straighten and pull the cotter pin that holds the damper handle to the damper door (image 20-8). Then remove the damper handle.
- With the handle removed, you can push up on the damper door. It is now unhinged and free, since it is just setting in there by gravity. To fully remove it turn the door sideways and lower it down through the damper frame.
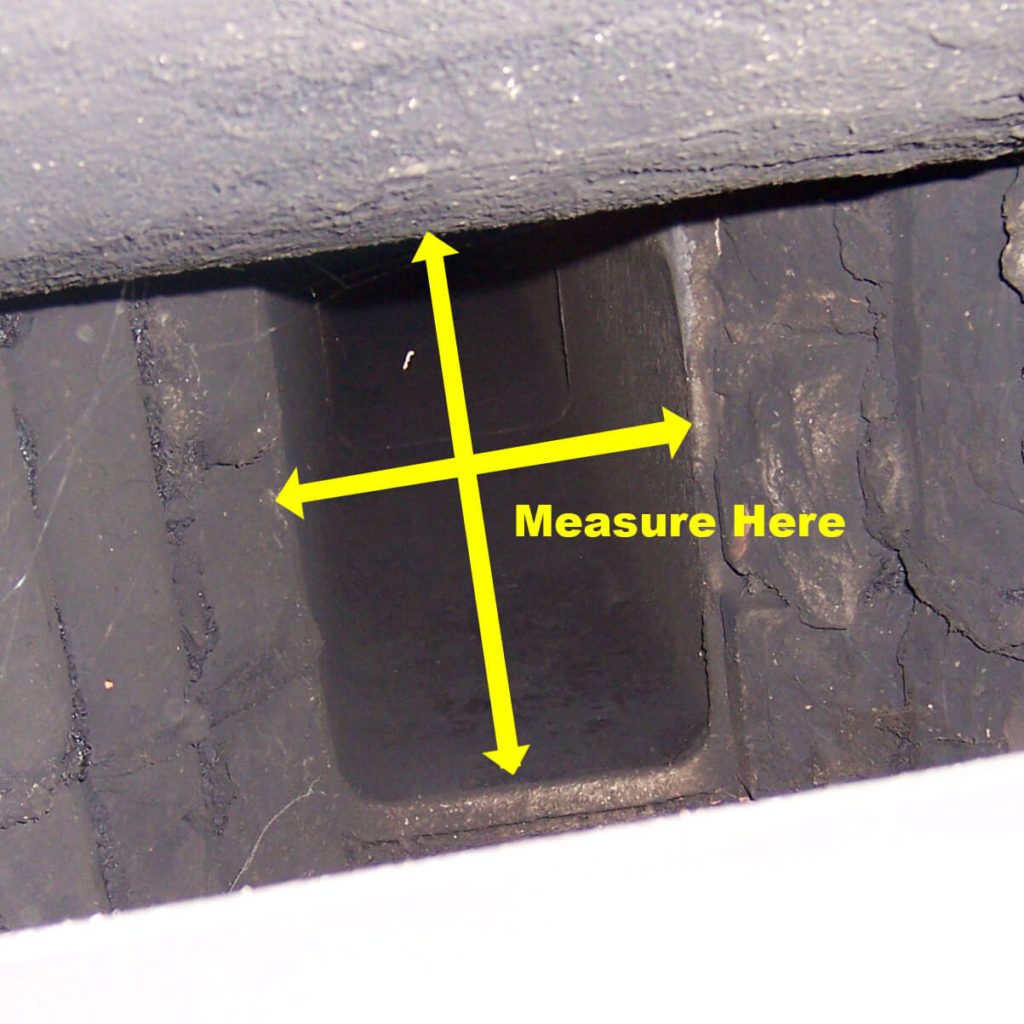
- Measure the damper frame opening. and install a Flueblocker that is at least the size of the opening. Here are some examples:
If the hole is 15″ to 23″ long = Buy a 8×24 Flueblocker
If the hole is 24″ to 31″ long = Buy a 8×32 Flueblocker
If the hole is 32″ to 44″ long = By a 9×45 FlueblockerThe Flueblocker is a wool pad with extra hems, so you can trim them to size with sharp scissors. Leave the pad at least 2″ larger than the hole, so it fits snug.
The Chimney Balloon
20-9: Chimney Balloon Installed
The Chimney Balloon can work well in this application. It generally installs just above the damper frame at the bottom of the smoke shelf. It gives you a very tight seal, however it is an inflatable. So it is not as durable as a wool Flueblocker. And it requires a top-off on air every 6 to 12 months, because of the swings in outside air temperature. Here are the steps to use a Chimney Balloon:
- Remove the damper handle and damper door (see instructions above.)
- With a folding carpenters ruler or tape measure, get the length and width of the smoke chamber area just above the damper frame.
- Buy a Chimney Balloon that is a little large for the application. For example, If you measure 33″L x 13″ W, buy a 36×15 Chimney Balloon.
- When you receive your Chimney Balloon, lay it flat, then fold it in half length-wise (Like a big soft shell taco) away from the handle valve. This will allow you to easily tuck the deflated Chimney Balloon through the damper opening.
- Tuck the deflated Chimney Balloon through the damper opening, so it lays on top of the damper frame. Then start blowing air into it. The damper frame will hold up the balloon as you inflate, and the belly of the balloon will be pressed against the damper frame. The handle valve will be sticking out of the damper frame opening. (image 20-9)
- Once the Chimney Balloon starts grabbing the sides of the chimney wall, do not reposition the balloon. The material has a grabbing property on its outer layer. Moving it while it is grabbing will risk a puncture.
- Once it is installed, you close the valve on the handle. You can then remove the inflation tube if you want to, or you can leave it hang down as a reminder.